If you are familiar with open-source Jenkins, you understand that it is an award-winning continuous integration and deployment tool for a reason. It’s growing ecosystem of plugins has taken Jenkins to the next level providing extended features and added functionality.
However, an integral part of replicating your software delivery workflow is the ability to represent your delivery model visually while automating the process; with Enterprise Jenkins, you can completely re-write the script pun intended to accomplish this through the Pipeline Plugin.
“Musicians play their instruments. I play the orchestra” — (Boyle, Sorkin Steve Jobs)
…and that is exactly what Jenkins Pipeline does. Pipeline allows users to build complex workflows to better organize and automate their processes. However, while creating a new job, you may be struck with a feeling of unfamiliarity as you stare at the blank pipeline script with no indication on how to begin your endeavor into creating a symphony of things building, testing, and of course… the chimes of messages and whistles due to post build notifications and successful deployments. You may even feel more uncomfortable as you frantically look for the pipeline option under "new jobs" in the open-sourced version of Jenkins.
1. If that is the case, you can install Enterprise Jenkins here.
Don’t worry young padawan; Jenkins pipelines are written in Groovy, and this allows you to truly customize and get what YOU want out of Jenkins by giving you the ability to include functions, conditional tests, loops, and try/catch blocks!
2. To initialize a basic job we need to start with the “node” step. This allows you to choose which of your build slaves to use. If you do not have any slaves configured then you can just use “master” as your node.
1 2 3 |
node(‘master’) { } |
Everything we place inside of the braces will be run on this specific node (unless you trigger a separate job from this script).
3. To help visualize the pipeline job - names, called "stages," are added so that during its lifecycle we can see what has been executed. Since pipeline builds run concurrently by default, Stages allow us to mark certain sections and limit concurrency.
1 2 3 |
node(‘master’) { stage ‘Say Hello’ } |
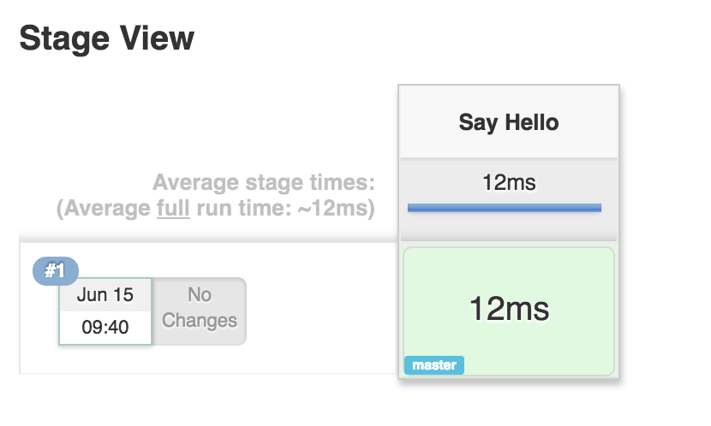
All steps listed under this stage will belong to this specific stage until we configure another stage below it.
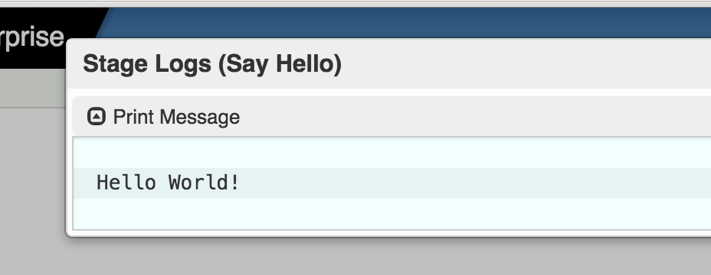
4. Let’s say hello to the people viewing the logs.
1 2 3 4 5 |
node(‘master’) { stage ‘Say Hello’ // Saying hello to everyone. echo 'Hello World!' } |
To learn more about Jenkins Pipeline you can check out Cloudbees’ Getting Started with Pipeline or checkout the groovy snippet generator built into Enterprise Jenkins. If you would like assistance with Enterprise Jenkins feel free to contact us!

Did I miss any intricate stages and steps in the build pipeline?
Comment below to keep this article accurate and up-to-date!
Citations:
Learn more about modernized technology here:

Interested in training to help advance your agile journey? Click the button to view our current list of public training courses! Use code BLOG10 for 10% off!
